


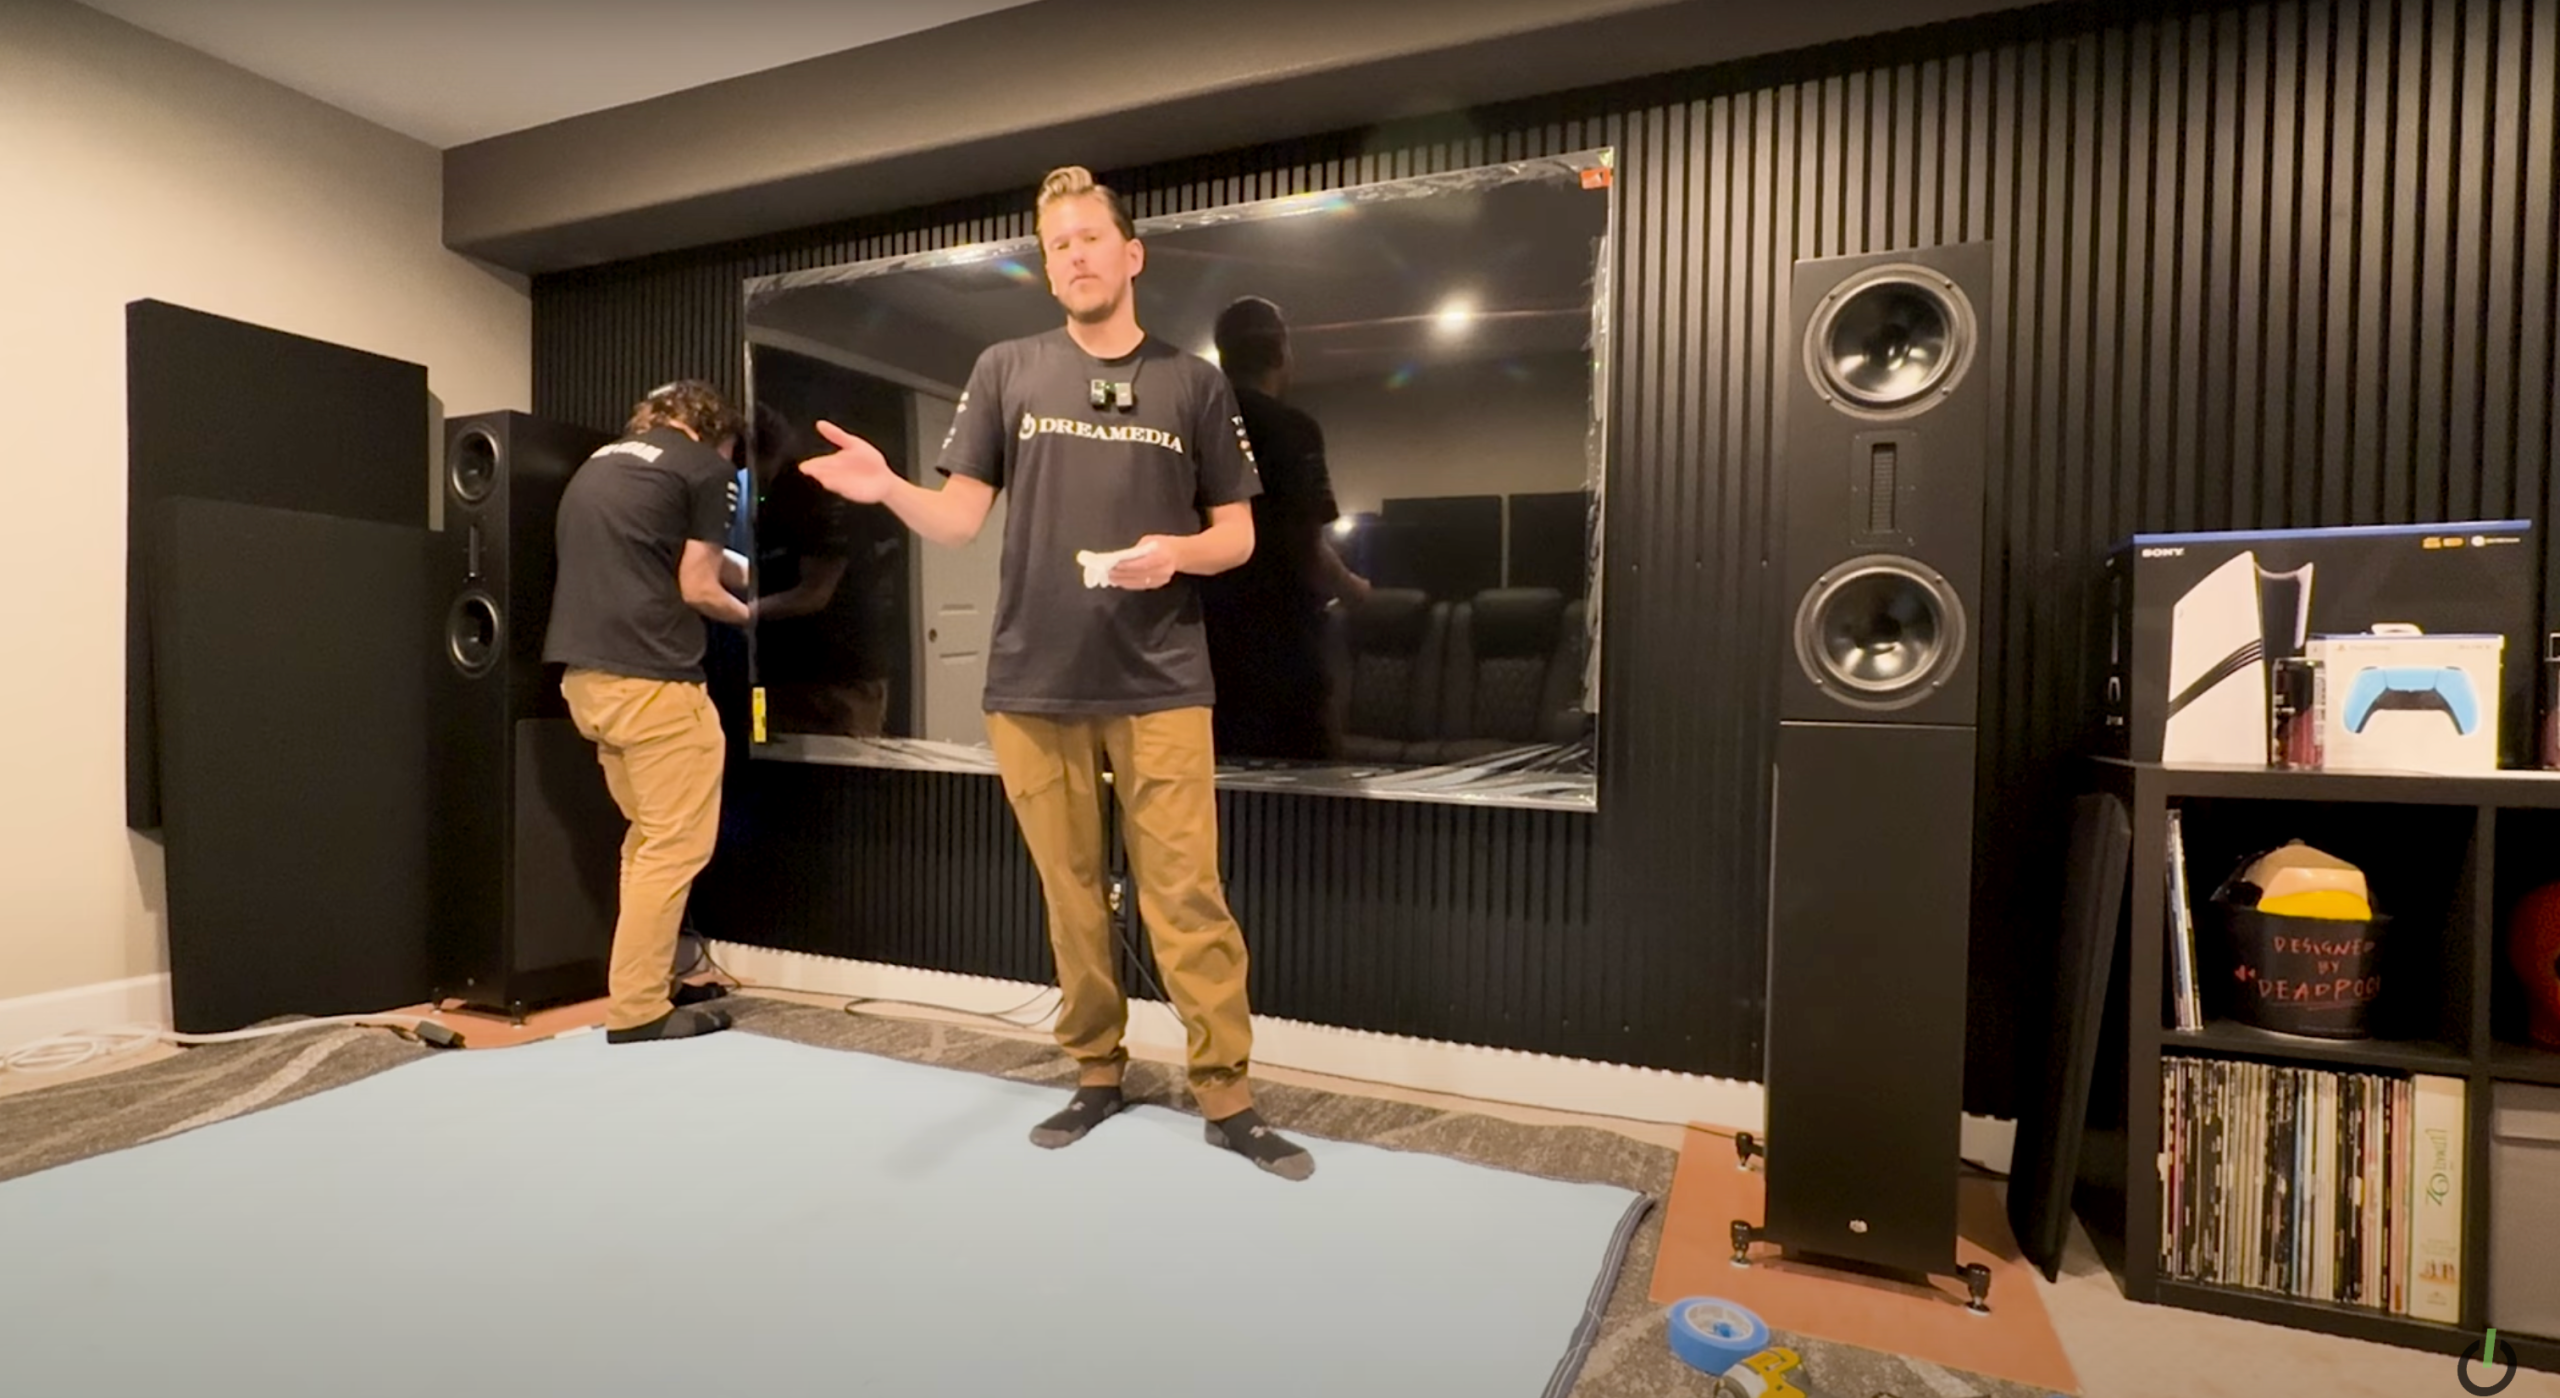
What’s up, Dreamedia family! This is Zach, Chase, and Giles, one of our local influencers here in Colorado. Today, we’re mounting a massive 98-inch TCL TV in his home theater.
We’ll be walking through the entire process—bolting into studs, setting up the mount, making surround sound connections, and giving our final thoughts. Let’s get into it!
Step 1: Preparing for Installation
First things first, we laid out a moving blanket and unplugged all connections. The TV was tested to ensure there were no cracks or defects.
Since this is a large display, selecting the right mount is crucial. We’re using the Sanus VX7 DB2, a heavy-duty mount rated for TVs up to 140 inches.
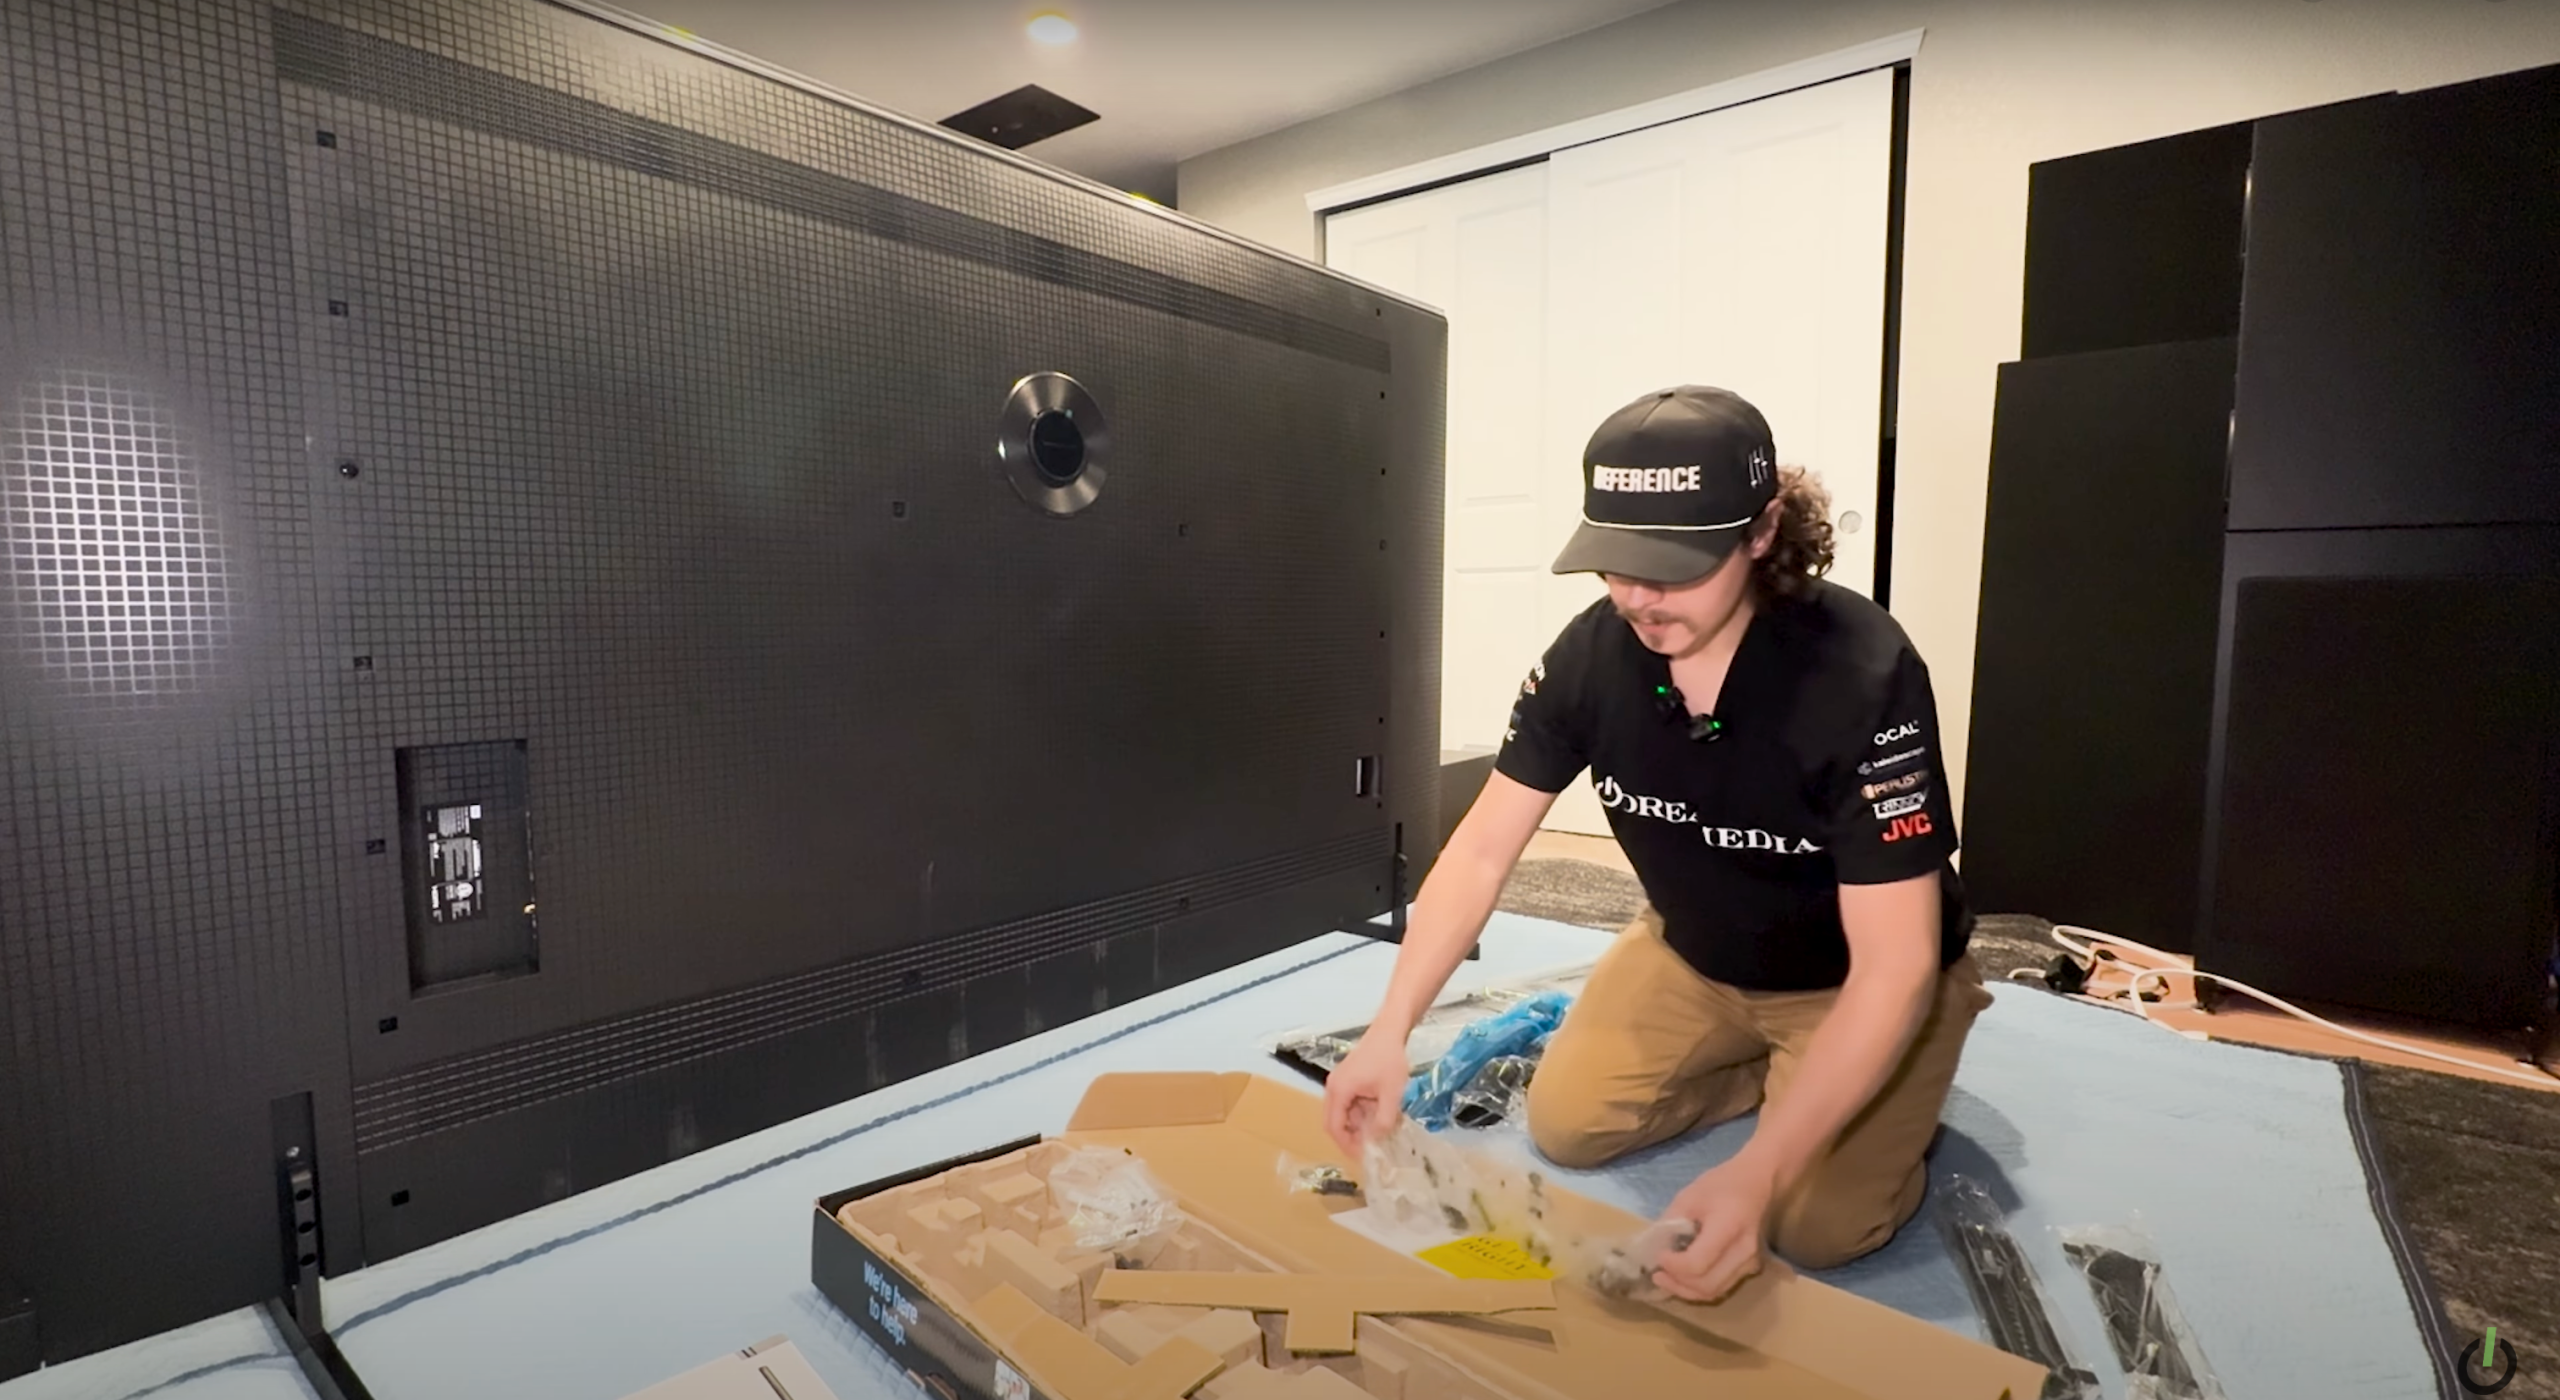
Step 2: Attaching the Mount to the TV
On the back of the TV, we aligned the mounting arms with the VESA pattern. The Sanus mount comes with extension brackets, ensuring compatibility with larger TVs.
Each bracket was secured using the correct bolts, washers, and spacers. We also adjusted the tilt feature to fine-tune the viewing angle once the TV is mounted.
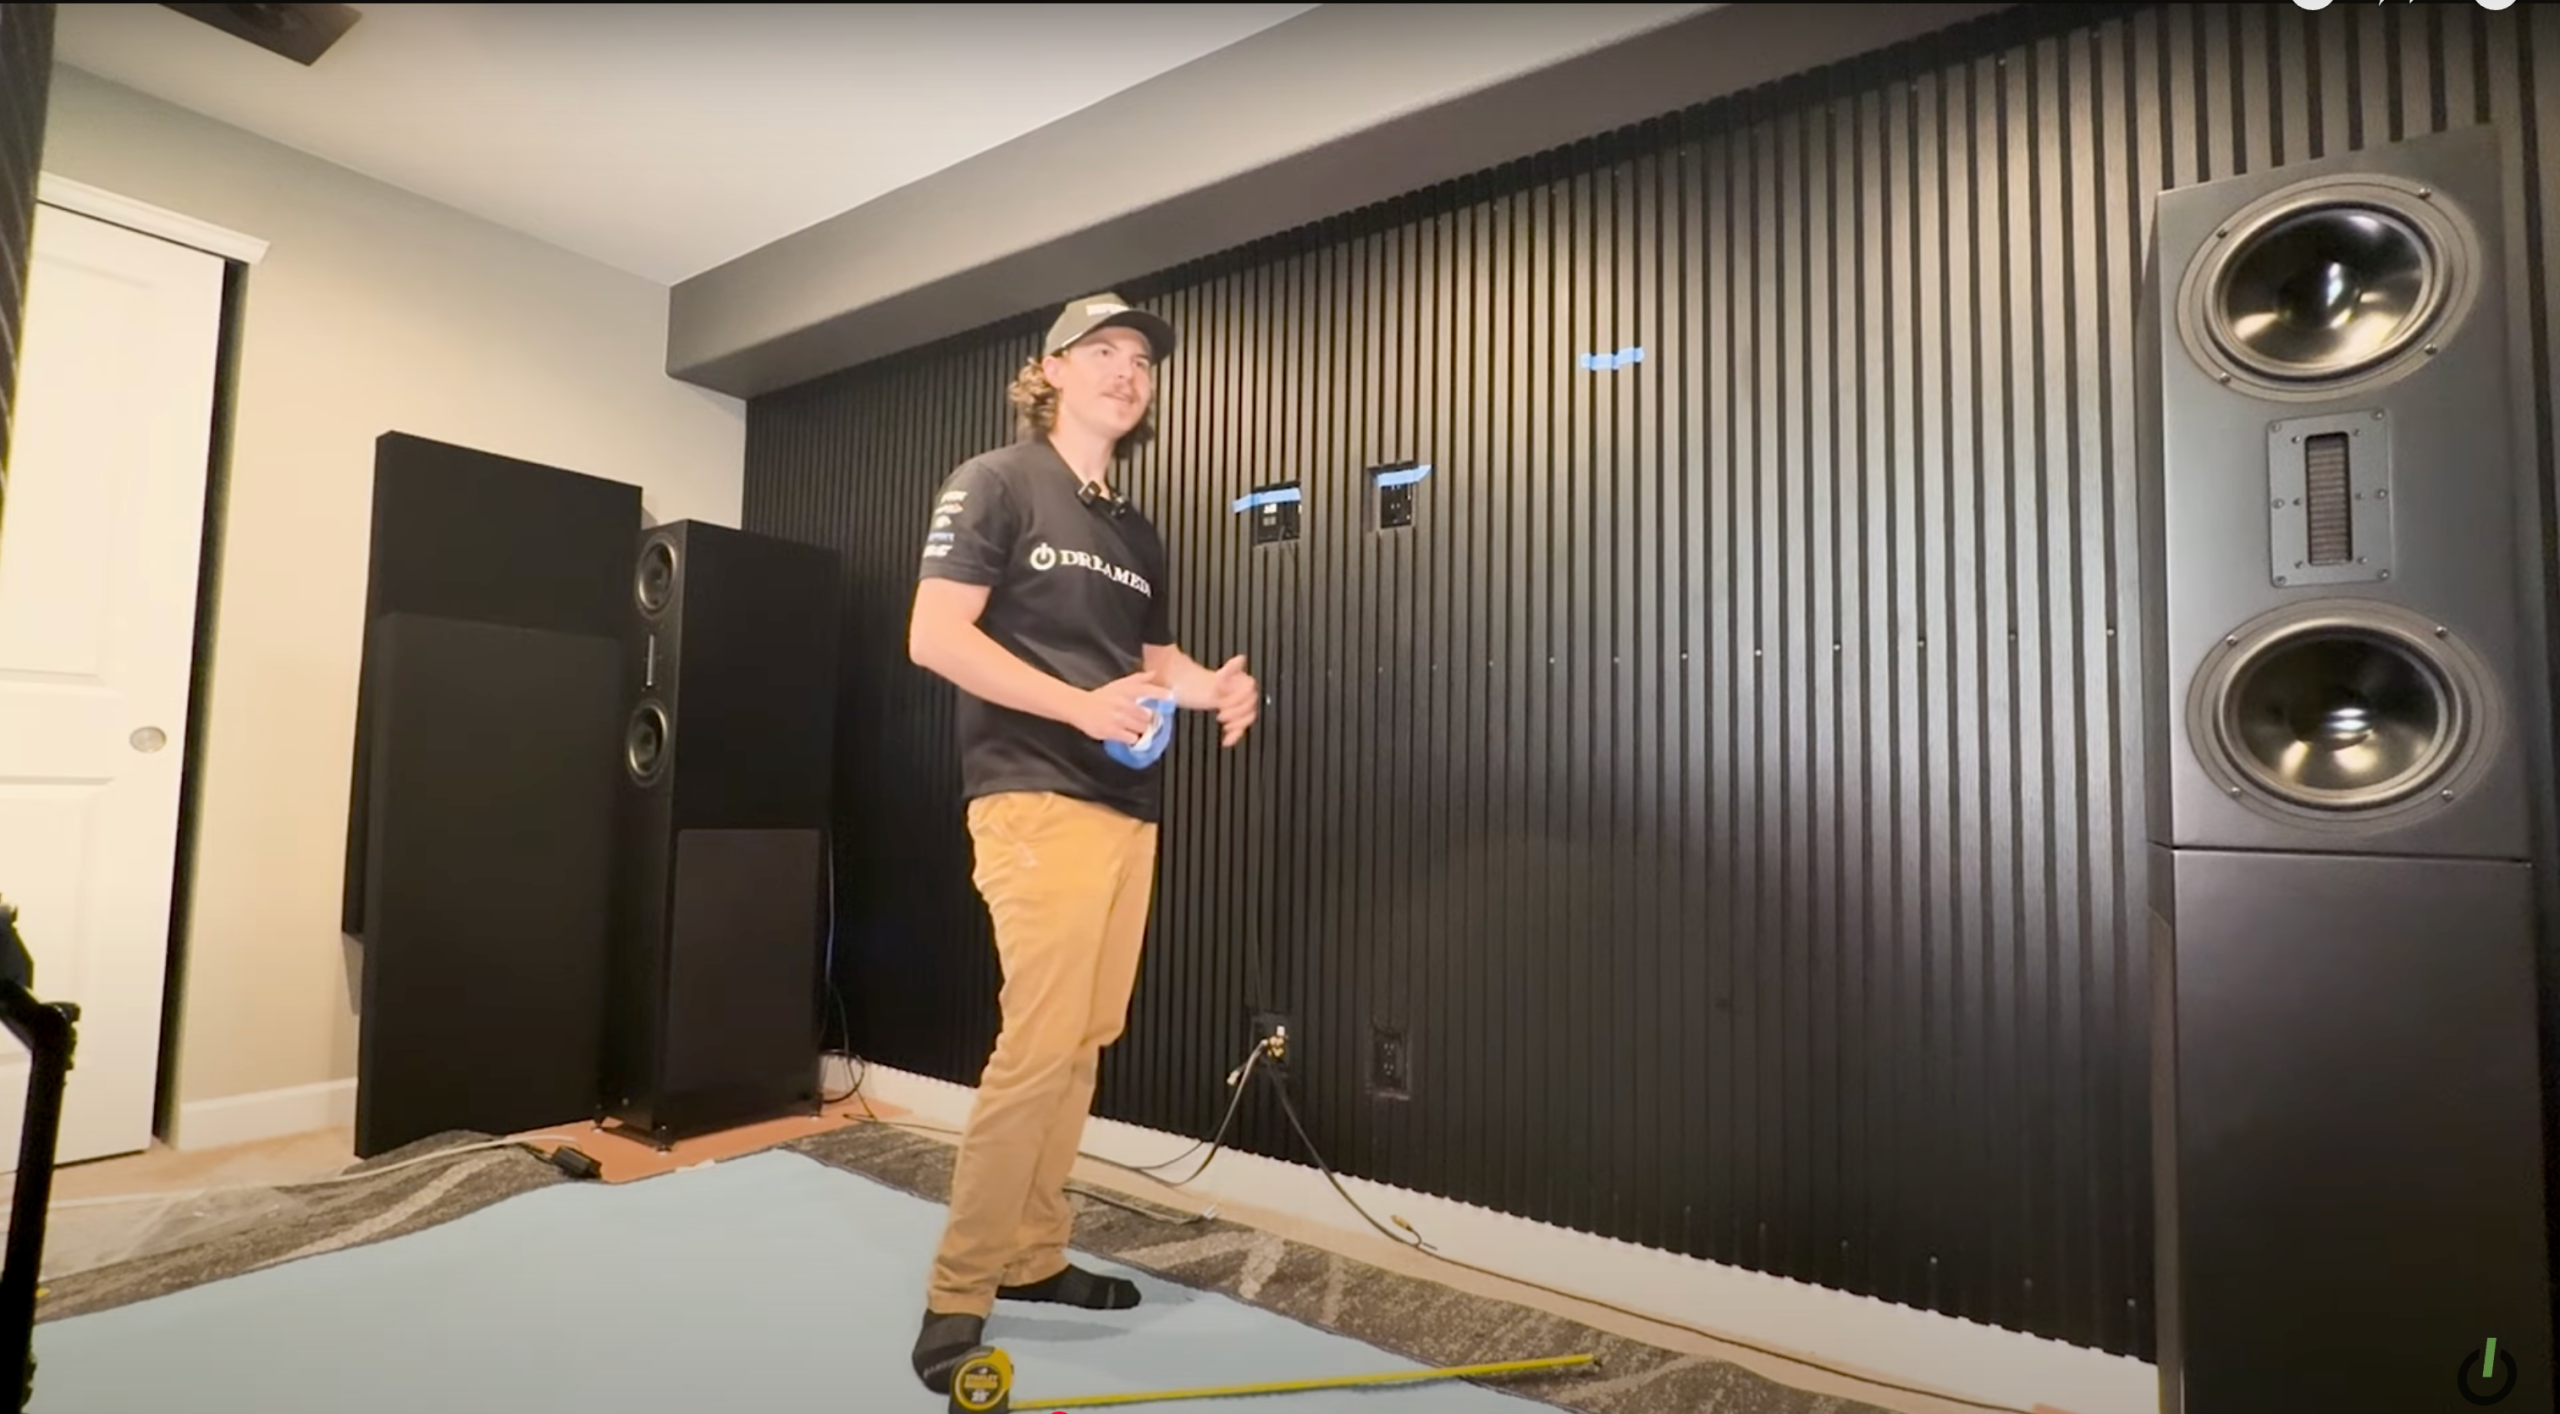
Step 3: Marking the Wall for Placement
Using a provided cardboard template, we marked where the mount should go. This step ensured correct stud alignment and precise positioning.
We used a stud finder to confirm stud locations, avoiding drywall-only anchoring. Hitting the studs ensures maximum stability for this 200-pound TV.
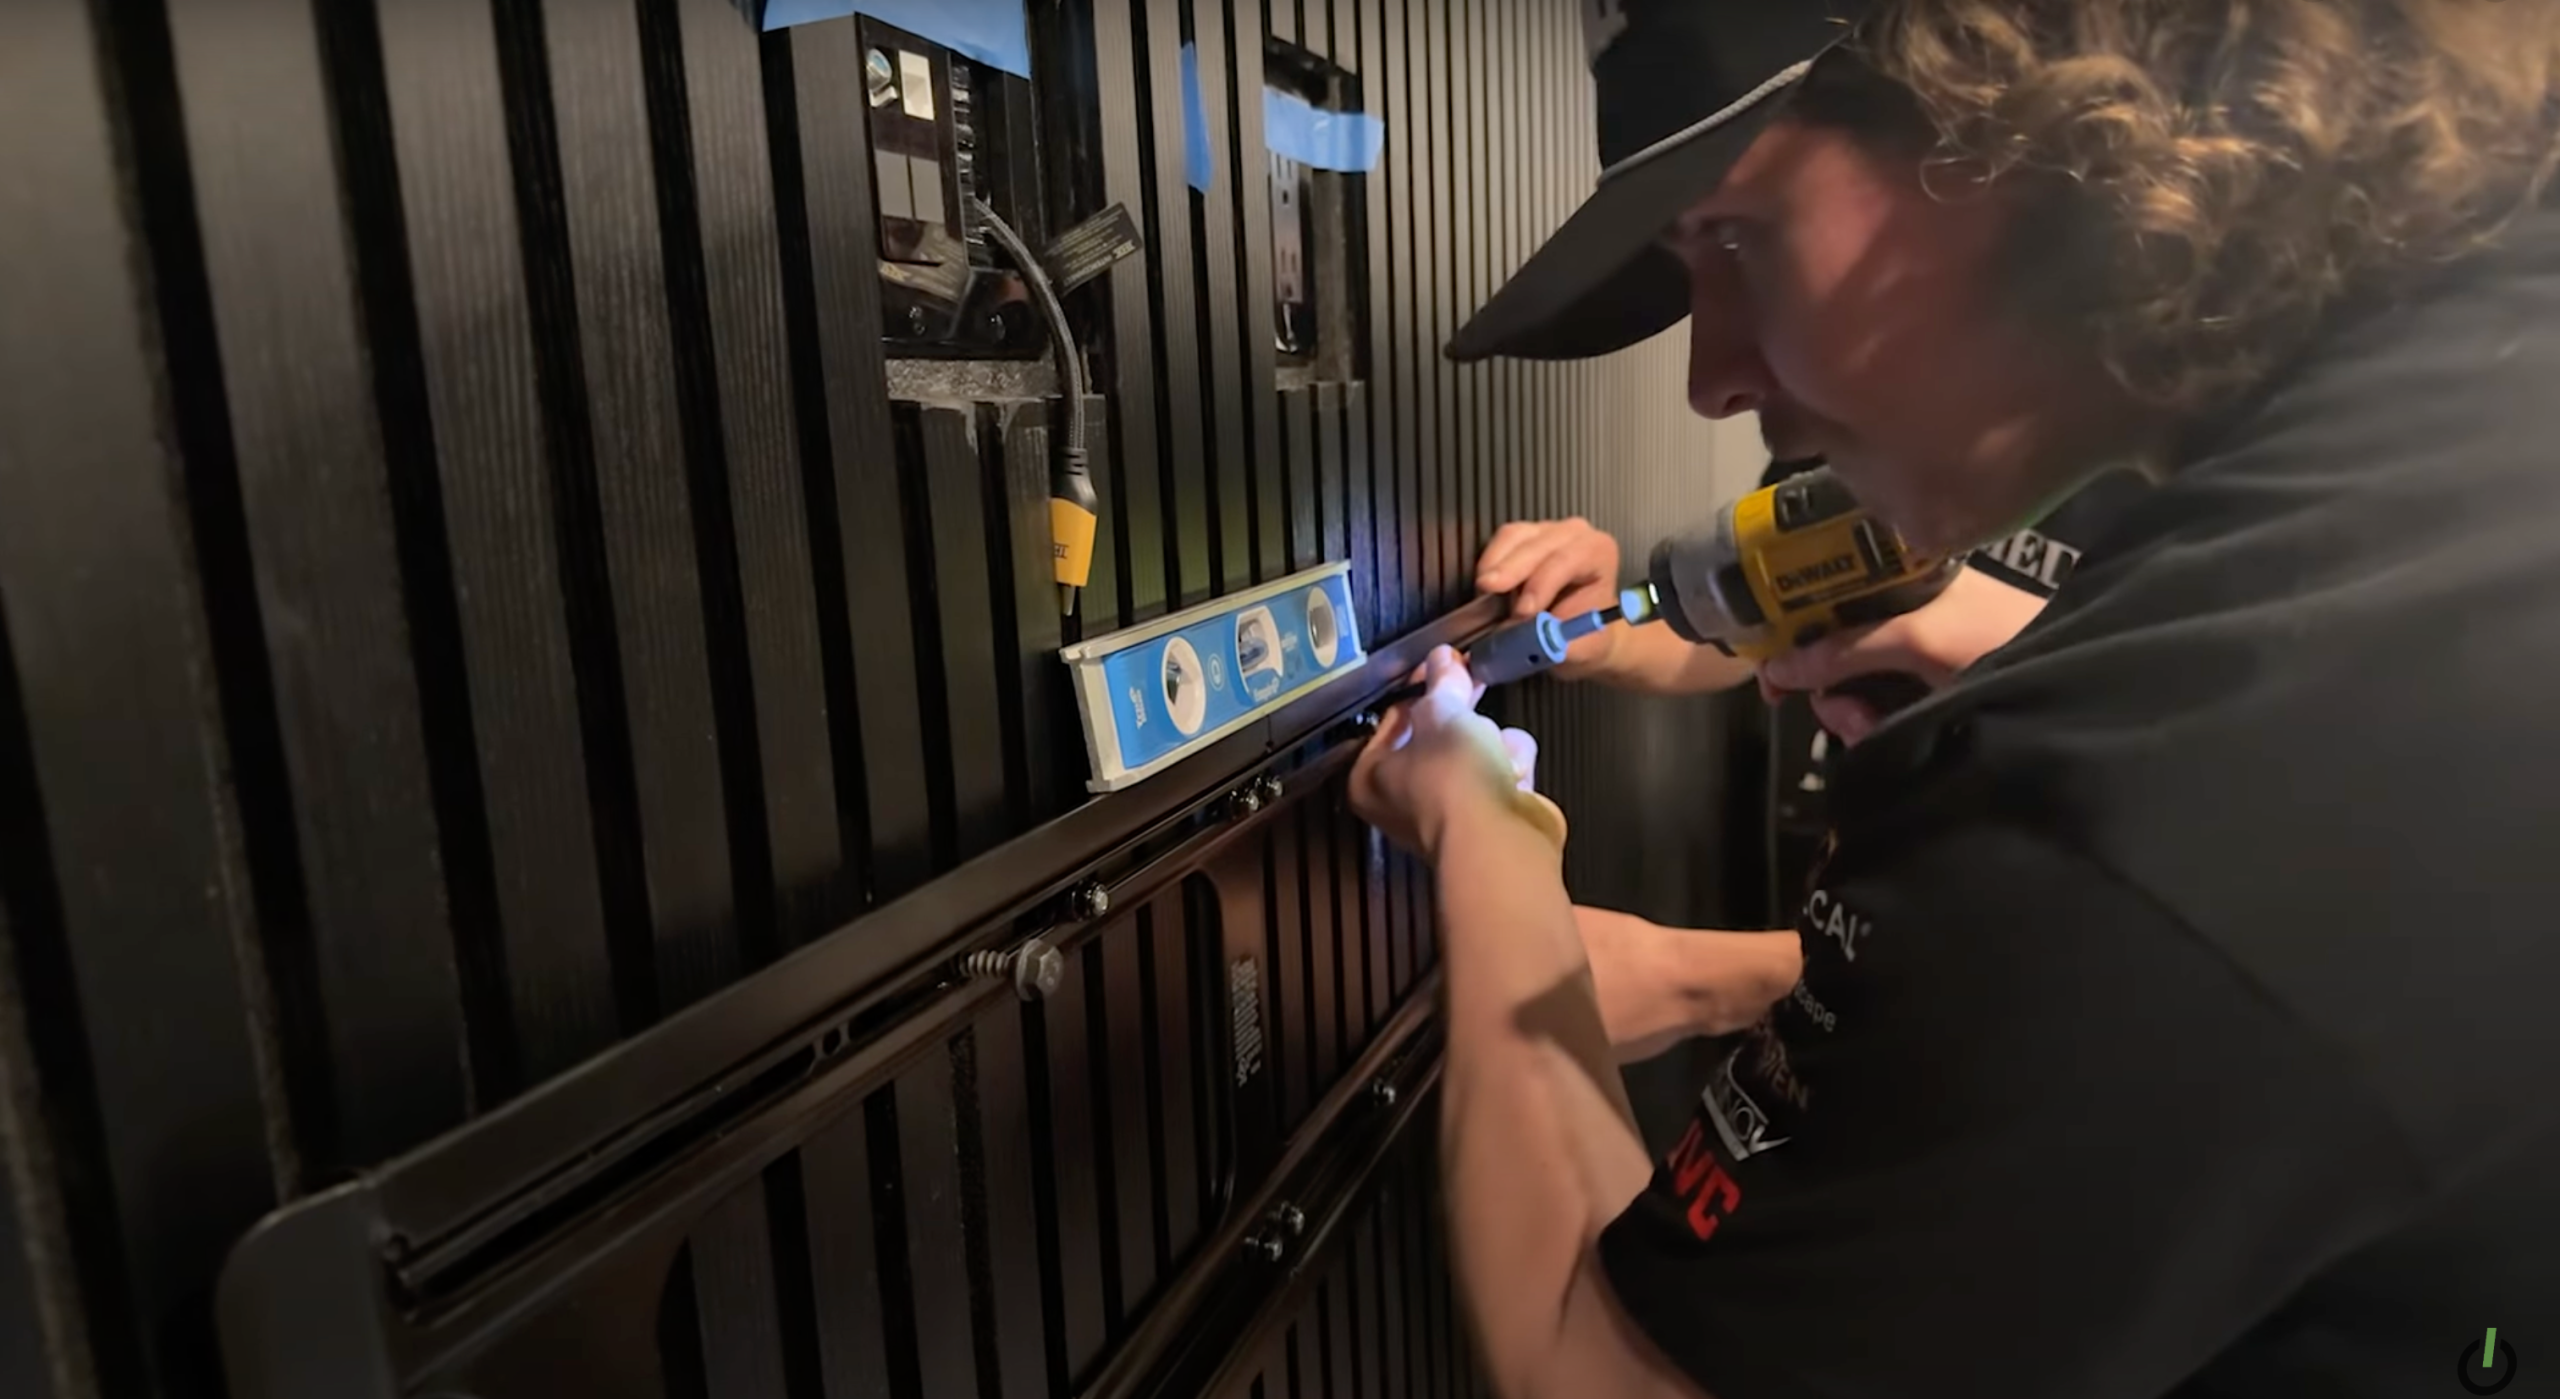
Step 4: Installing the Wall Bracket
The wall bracket was positioned at our pre-marked height. We used a level to make sure it was straight before securing it with heavy-duty lag bolts.
We left slight looseness in the bolts until all were in place, then tightened them down for a secure fit.
Step 5: Mounting the TV
With the bracket secured, we carefully lifted the TV and hooked it onto the mount’s top rail. The locking mechanism clicked into place, ensuring stability.
We made slight adjustments for perfect centering and checked the tilt to match the room’s aesthetics.
Step 6: Connecting Cables & Final Adjustments
We connected the power cable and HDMI to the fastest port, ensuring optimal signal transfer. The HDMI eARC port was used for Dolby Atmos audio output.
All cables were neatly zip-tied to maintain a clean, professional setup.
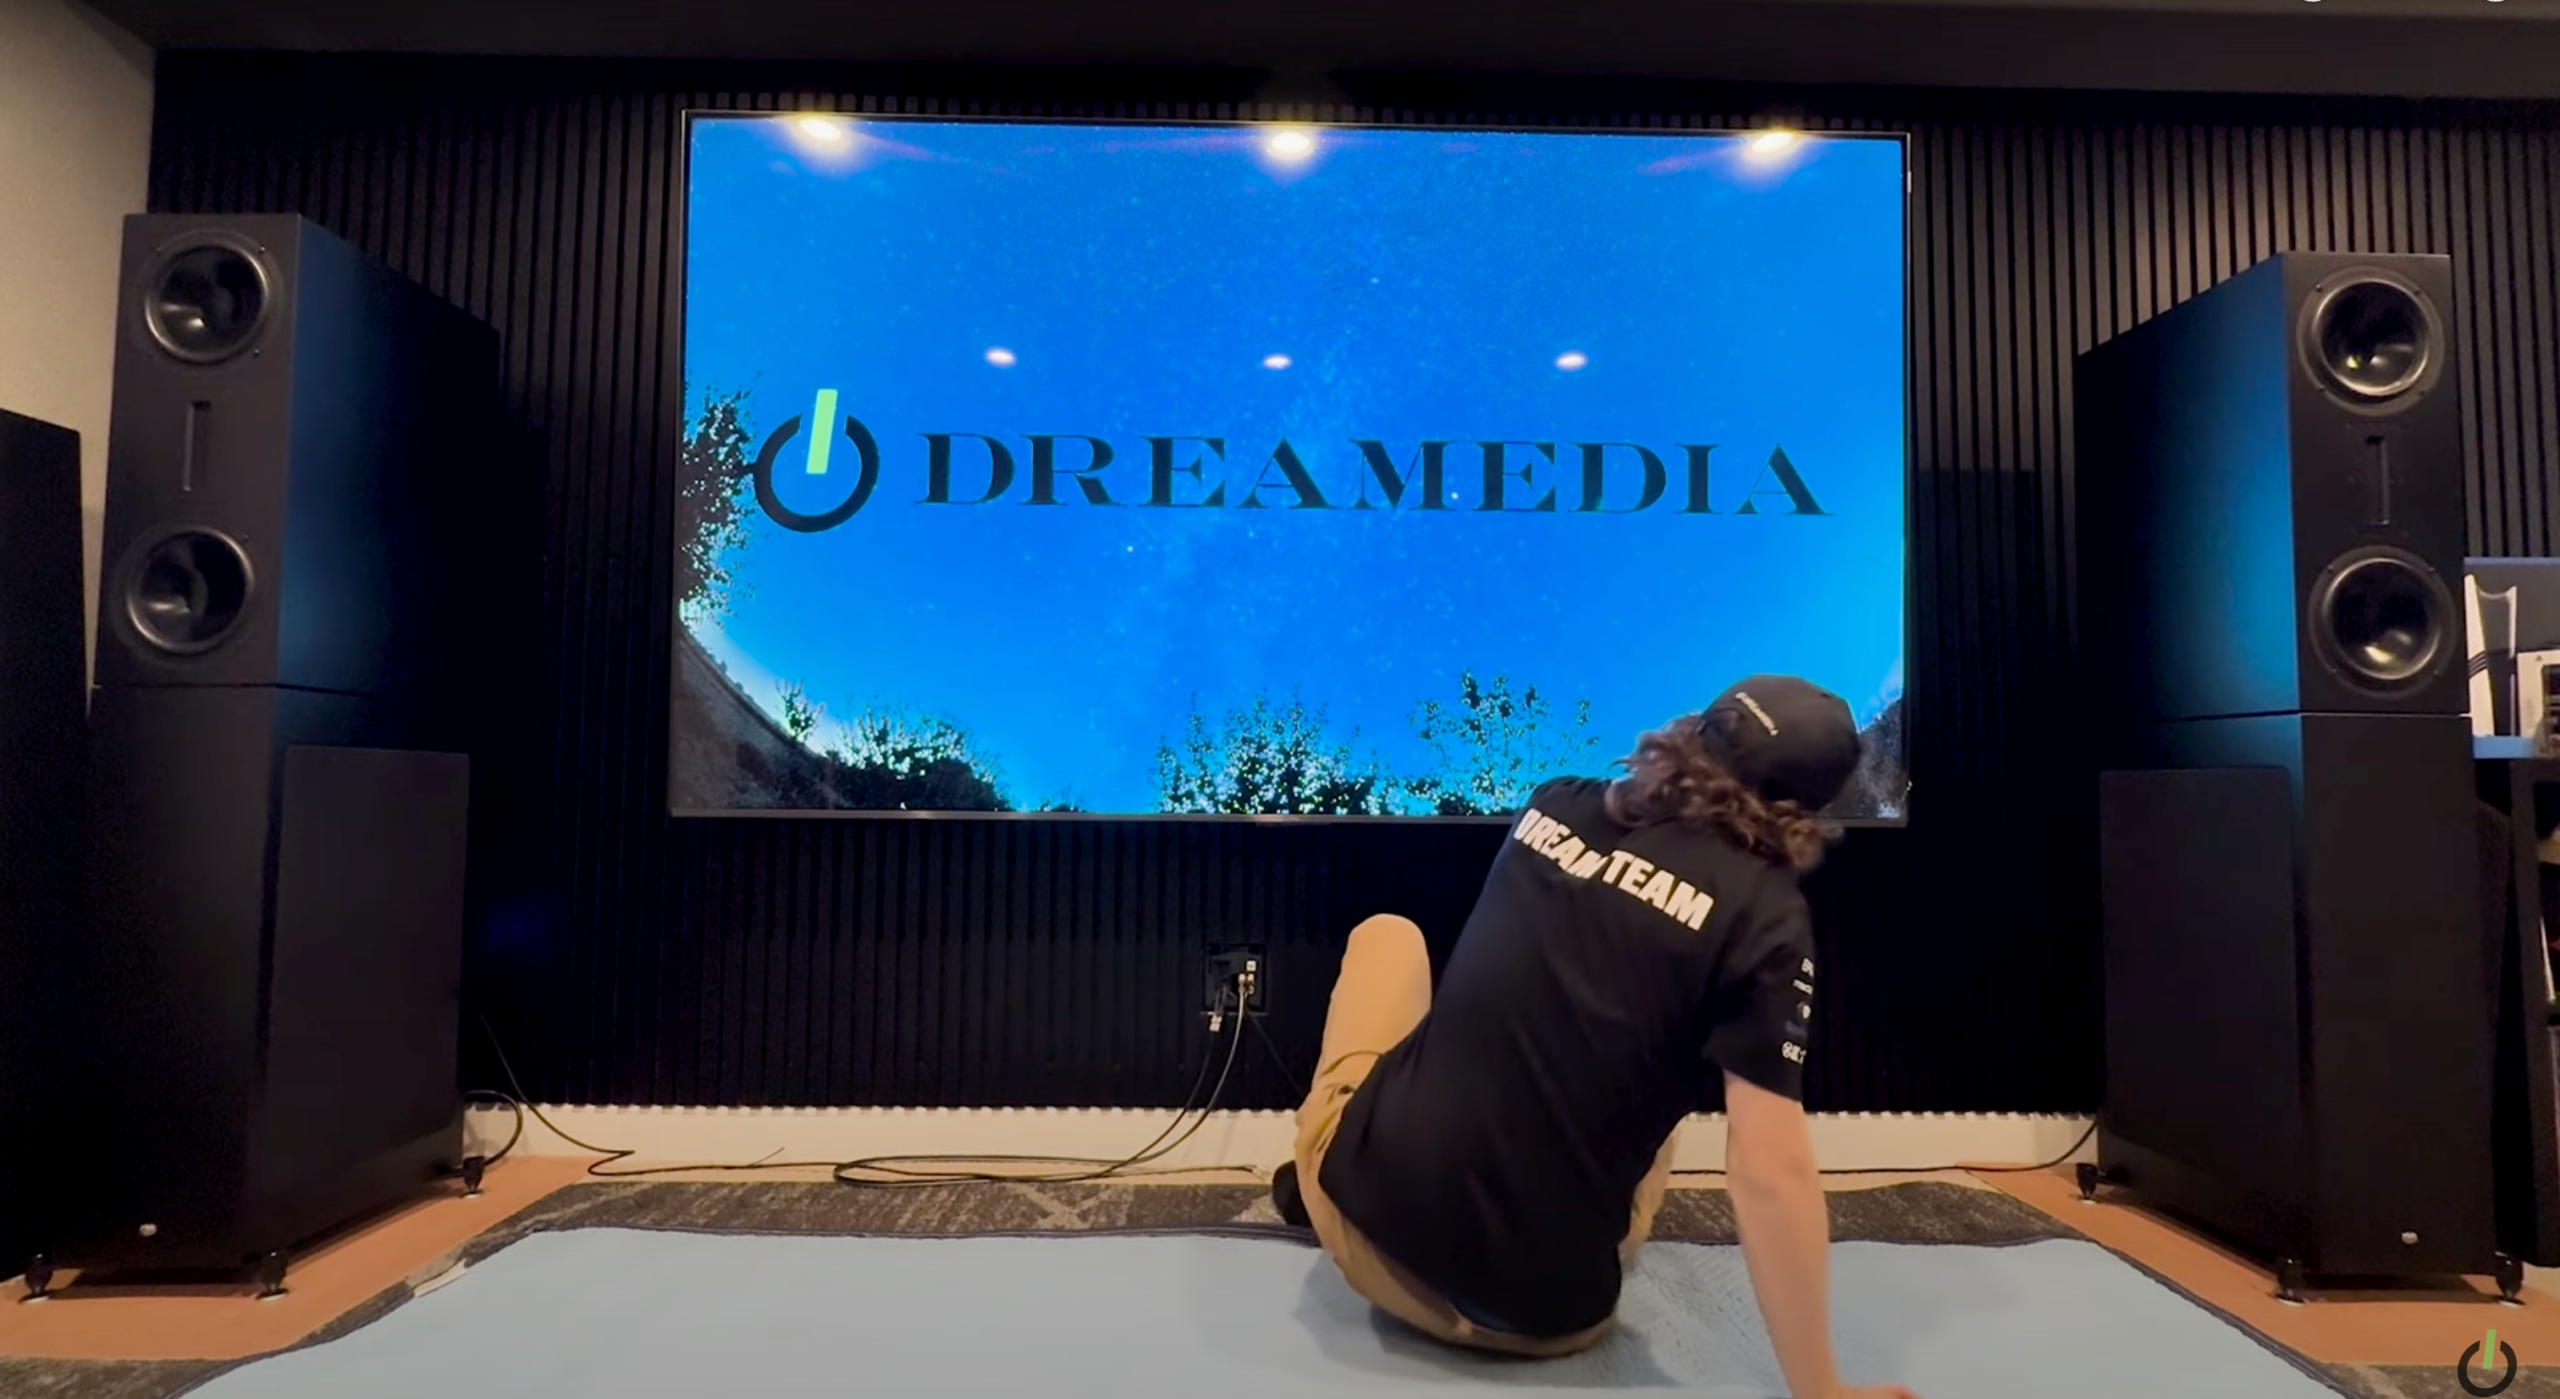
Step 7: Powering On & Final Thoughts
With everything secured, we powered up the TCL 98-inch QM7. The display looked stunning, and the setup was rock-solid.
Giles confirmed that the viewing height was perfect, ensuring an immersive experience for movie nights.
Why Proper Installation Matters
Mounting a TV of this size requires precision. Improper installation can lead to stability issues, poor viewing angles, or damage to the TV.
At Dreamedia, we ensure every installation is done right the first time. Whether it’s a basic setup or a full home theater system, we provide expert guidance and hands-on support.
Upgrade Your Setup with Dreamedia
If you’re looking to upgrade your TV, audio, or home theater, reach out to Dreamedia for a free consultation. We offer expert advice and professional installation services.